How To Of The Day: Seal Foods Air-Free Without A Vacuum Sealer

 How To  Comments Off on How To Of The Day: Seal Foods Air-Free Without A Vacuum Sealer
Jan 092017
 
How to Seal Foods Air-Free Without a Vacuum Sealer

Seal Foods Air-Free Without A Vacuum Sealer

Here’s a quick, easy, inexpensive way to seal foods airtight in a plastic-bag. All you need is a zipper-lock bag, and a tub or pot of water.

If using this method for storage use freezer bags for a better seal. For cooking sous-vide, do not use this method for foods that need to cook longer than a couple of hours. For long cooks, use an actual vacuum sealer. Zipper-lock bags can fail with extended cooking times.

When it comes to plastic-bag storage, there are a lot of good reasons to remove as much air as possible. Marinating in an air-free plastic bag helps better distribute marinades around food. Excess air causes oxidation that can develop into off flavors or promote spoilage. Air pockets can exacerbate freezer burn in the freezer and slow down sous vide cooking. Removing that air is simple to do with a vacuum sealer, but what if you don’t own one or don’t want to use the expensive bags for a relatively simple storage or cooking task?

Here’s a quick, easy, inexpensive option called the water displacement method. All you need is a zipper-lock bag and a tub or pot of water.

I first learned about this technique when Dave Arnold demonstrated it to me as an alternative to vacuum sealers for sous vide cooking, but it has far wider applications.

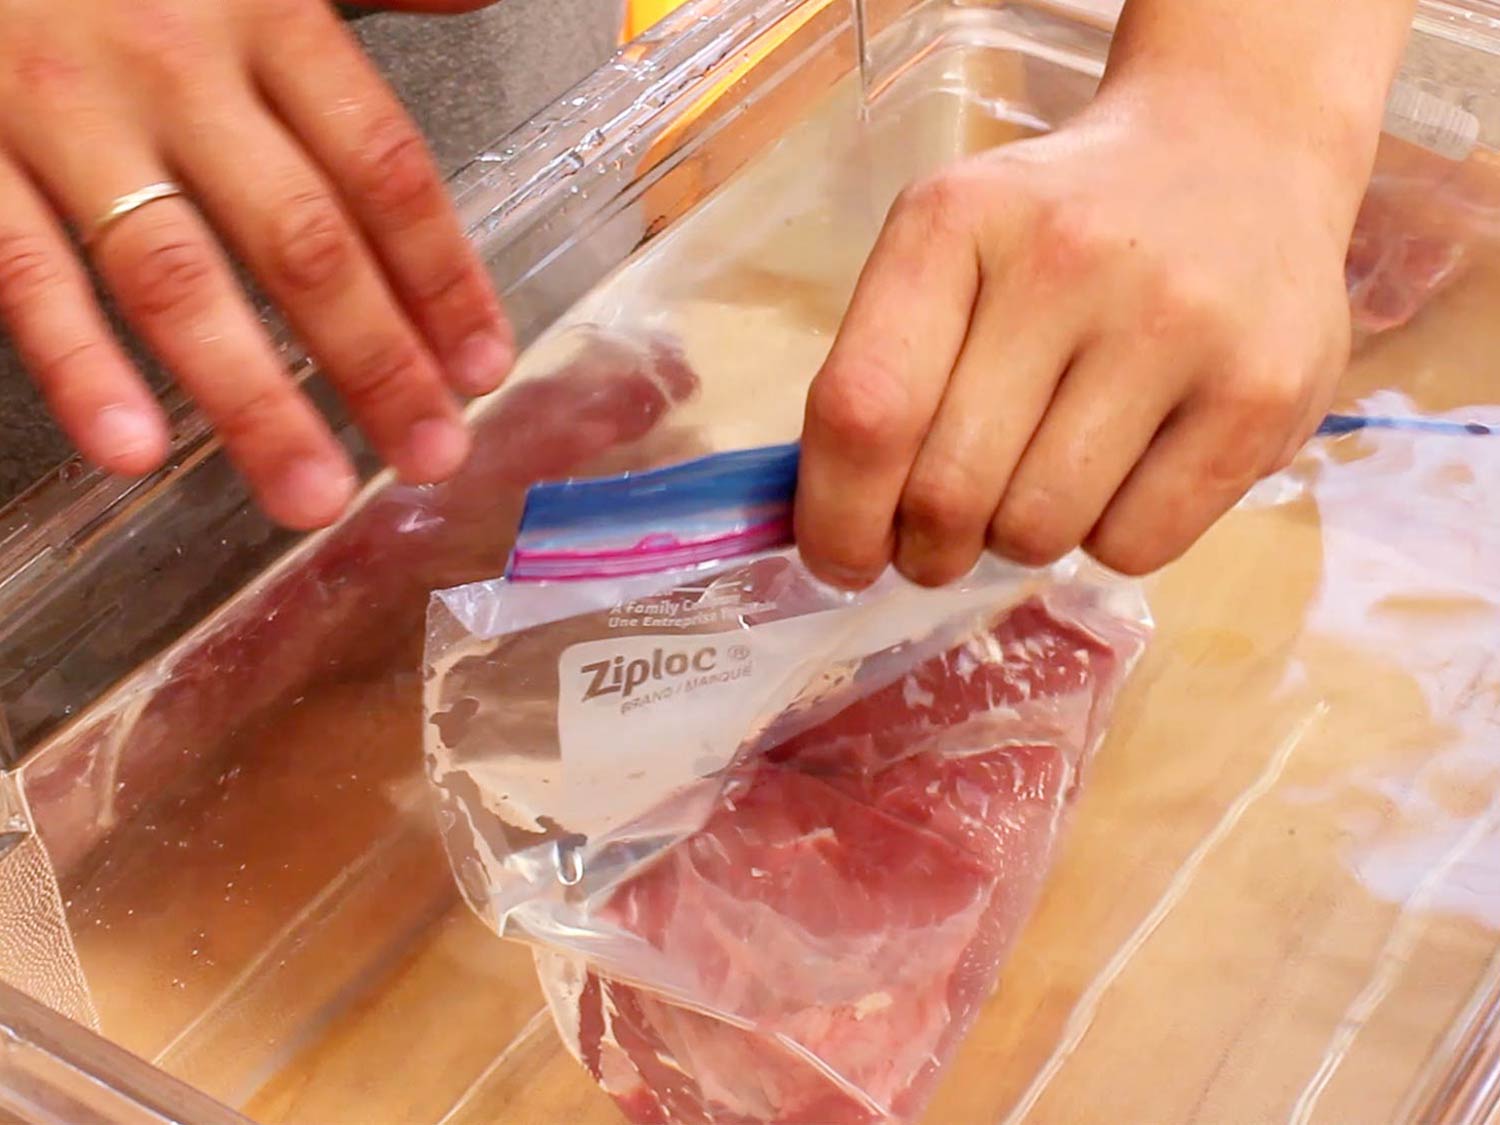
To do it, you start by placing your food inside a zipper-lock bag, then seal the bag, leaving just the last inch or so of the seal open. Next, you lower the bag into a pot or a tub of water. As the bag gets lowered, water pressure will push air out of the bag through the small opening you left. Just before the bag gets completely submerged, seal off that opening and pull the whole bag out of the tub.

Ta-da! Food that’s sealed in a nearly air-free environment, no special tools required.

Source…


How To Of The Day: Store And Stack Firewood

 How To  Comments Off on How To Of The Day: Store And Stack Firewood
Jan 052017
 

Stack your firewood to last the Winter and to dry perfectly with this handy graphic.

store-and-stack-firewood

After you split firewood, you want to stack it up and store it to begin the seasoning process and prepare it for burning. Firewood should be stored for a minimum of 6 months, and during that time you want to ensure it loses as much moisture as possible by exposing it to ample sunlight and air circulation. As noted above, while both elements are important, sun exposure should be prioritized over wind direction. If your backyard or property has inconsistent wind patterns, the stack should be aligned so that it catches the west-to-east winds which are common in North America.

You’ll know when your wood is ready for stove or fireplace by sight and sound: Check the ends of your firewood for hairline cracks that spiderweb across the grain, and bang the wood together; a low thud sound means you’re good to go, but a sharp clap means it still needs time.

If you’ve waited six months and your wood still doesn’t seem ready, your stack may be out of whack; check the guidelines above for tips on how it might be improved.

Illustration by Ted Slampyak

Source…

 
via

How To Of The Day: Make Perfect Pancakes

 How To  Comments Off on How To Of The Day: Make Perfect Pancakes
Dec 302016
 

Pancakes are delicious, but it’s easy to screw them up if you’re not careful. Before you make your next batch, check out this handy graphic with tips on how to get them just right.

make-perfect-pancakes

Let’s start by admitting that the nature of a perfect pancake is a subjective thing. Some people love thin, almost crepe-style pancakes, while others crave flapjacks that are heavy and almost cakey in texture. In the middle of those extremes is what we’re after — a pancake that’s got crispy edges and a moist, but not too dense inside. If you want to make the sort of hotcakes you’d find at an all-night diner in the middle of a long road trip, where heavy ceramic mugs accompany warm jugs of maple syrup ready to pour over golden stacks of butter-covered pancakes, these instructions will guide you.

The key to creating these divine cakes starts with fresh ingredients: don’t use flour, baking soda, or baking powder that’s more than 6 months old, as it weakens key interactions that make the difference between great flapjacks and mediocre ones.

Illustration by Ted Slampyak

Source…

 
via